Care of skis and skin
Waxing your skis at the end of the season
I need to expand on this a little and start at the end of the winter: The most important thing when skiing is the gliding of your skis on the snow and to ensure this, you need a good base, which we keep in good shape with ski wax. At the end of the winter, you should definitely apply a thick layer of wax to your base. Even if you've never done this before, I can reassure you that it's easier than you think and doesn't take much.
All you need is a ski wax and an old iron. You can also buy your own ski waxing iron, but this is not necessary. Don't set it too hot, drip the wax generously onto the base and spread it with little pressure and light movements. In the fall or early winter, you only need to remove the wax with a scraper, which is an inexpensive tool made of hard plastic, and if you want it really fine, brush it off with a wax brush. The wax prevents the base from drying out and even minor scratches can be easily filled with wax. Your skis will thank you for it.
You may also have had the feeling that the adhesive on your skins is sticking to the surface. This is an indication that your base has dried out. The snow tends to "clog up" in these places, which can be quite annoying on the descent. Of course, you should also give your touring skis a coat of wax during the season, even if it's only liquid wax or rub the cold wax into the base, all of which will help your skis, your skiing enjoyment and support the service life of your skis.
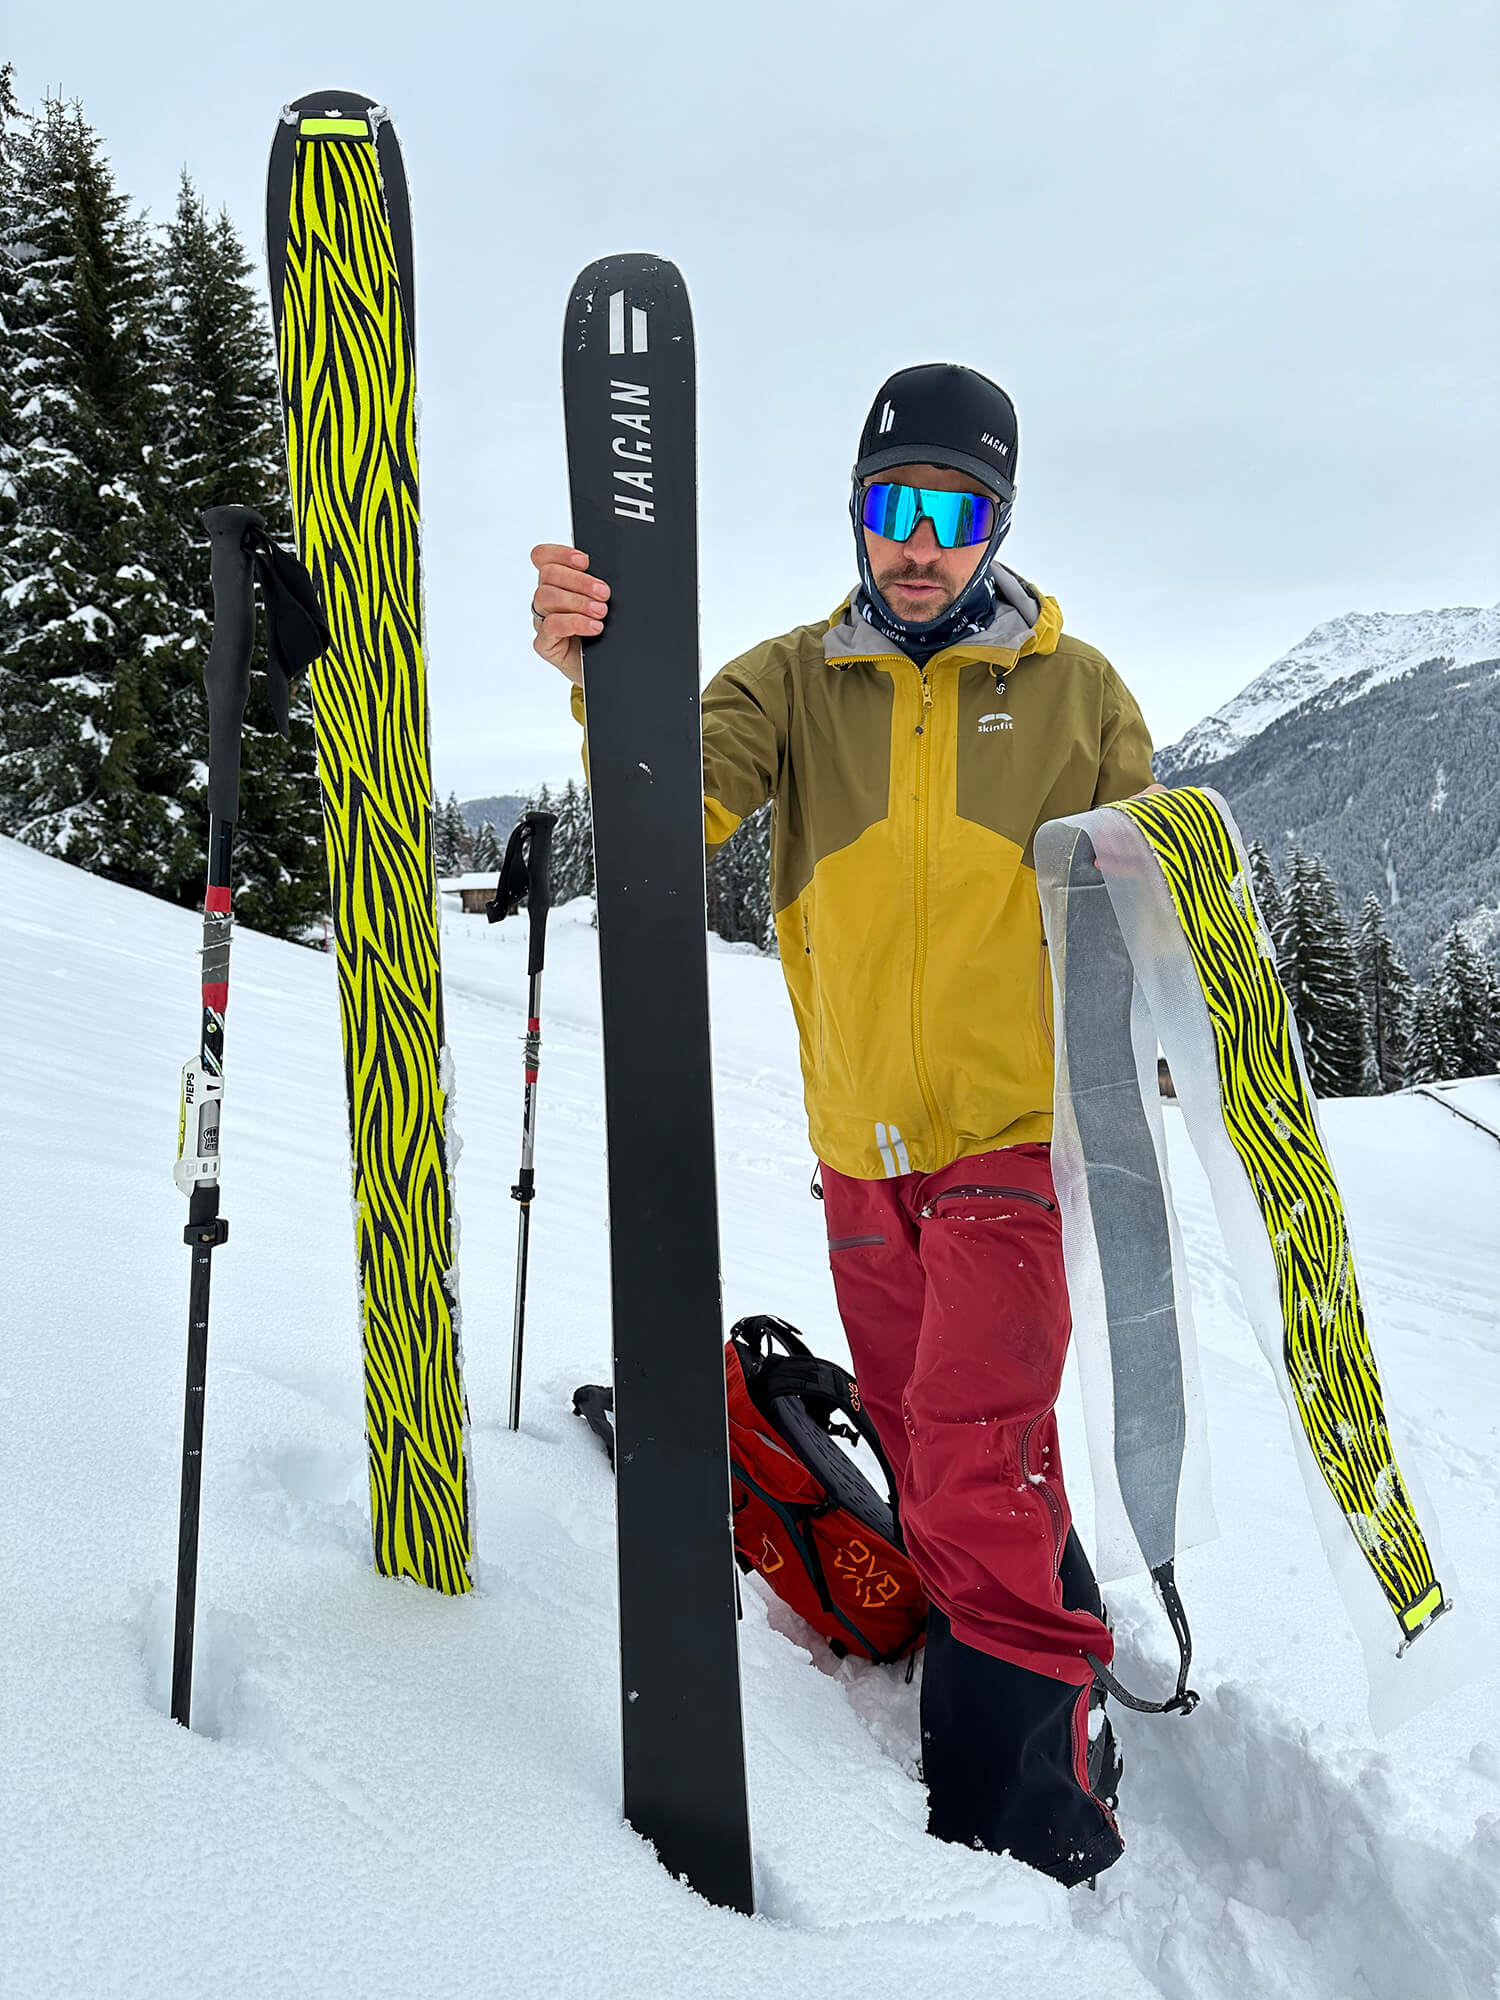
Also supply the skin with wax
I'll stay on the subject of wax and tell you a practical application for it. Who hasn't experienced it, especially in spring, but now it also happens to me very often in the height of winter: we start in the morning, it's really cold and as we climb it gets warmer and warmer, the snow gets wetter and wetter and starts to stick to the underside of our skins skis. The ski suddenly feels like it has two kilos more and we only have half as much fun on the ascent.
Wax helps us here too. You can get a small coat wax in any sports store or on the internet, I always have one in my rucksack, it doesn't weigh much and often saves the day. The liquidand hard wax from HAGAN is also ideal for this. The best and easiest way is of course to apply it at home. Rub the wax onto the coat with a lot of pressure and then heat it with your hairdryer to get the best result. Simply rub it on on the way and you're done. You will see, little effort but a big difference.
Hybrid or adhesive fur: what are the advantages and disadvantages?
I am often asked which skin I prefer exactly. The choice between hybrid or adhesive skins is probably a matter of taste. In my opinion, there is no 100 percent answer here. The important thing with both options is that you remove snow, ice and water from the base. The fleece on your skin bag is ideal for this.
Adhesive skins are perhaps a little easier to use. They have the advantage that they adhere very firmly to the ski, even if the skin is already damp. The disadvantages are that if the base is too dry, the adhesive sticks to the base and you always need a foil or net when you take off the skins and stow the skins away.
The hybrid skin does not adhere quite as firmly to the ski as the adhesive skin, but can be put together without foil or netting. In my opinion, skinning is definitely more comfortable with the hybrid skin. The hybrid skin is particularly recommended for people who like to go on tours where you have to take the skin on and off several times. A little tip from me: If you need your skin right after the descent, put it under your jacket on your chest to loosen any icing. This way it sticks very well when you put it back on. If you're undecided, it's best to test both and form your own opinion.
So enough talk about the equipment. Now I'd like to give you a few tips on technique for your first ski tours!
Technique tips for your first ski tours
The track system
Adapt your track to the terrain as best you can and use it economically. Try as best you can to maintain a constant gradient, good is approx. 12°-17°, or whatever is comfortable for you. But above all, as long as you can without a climbing aid. The climbing aid is a great invention when it's really steep and we can't go any flatter. However, you are always most effective without it, as your steps are longer and you have a smoother movement. When you make a new track, make sure that your skis are not completely together, but about 10 cm apart or, better said, hip-width apart. Firstly, you will be more stable on your skis and secondly, it will be much easier for anyone following you, as snow will always fall into the track from the sides.
My tip: Climb as late as possible, as early as necessary.
Hairpin bend technique
One of the most underestimated and error-prone turns in sport is the hairpin. The first thing you should pay attention to when making a hairpin turn is your stance. This is horizontal, you stand completely straight on the slope and step onto a small platform. At the stance, you then pull the mountain ski forwards and lift your leg as far as possible, turn your leg uphill in the other direction and put it down again. At the end, your feet should be no more than about 30 - 40 cm apart, not a big straddle. Pull the second leg backwards, bringing the tip up and allowing you to turn the ski on the uphill side. Because you are standing on a flat base, you never need to worry about slipping backwards.
My tip: Really try the hairpin bend on flat terrain to internalize the technique well and then increase your skills in the terrain - maybe stretch beforehand 😉
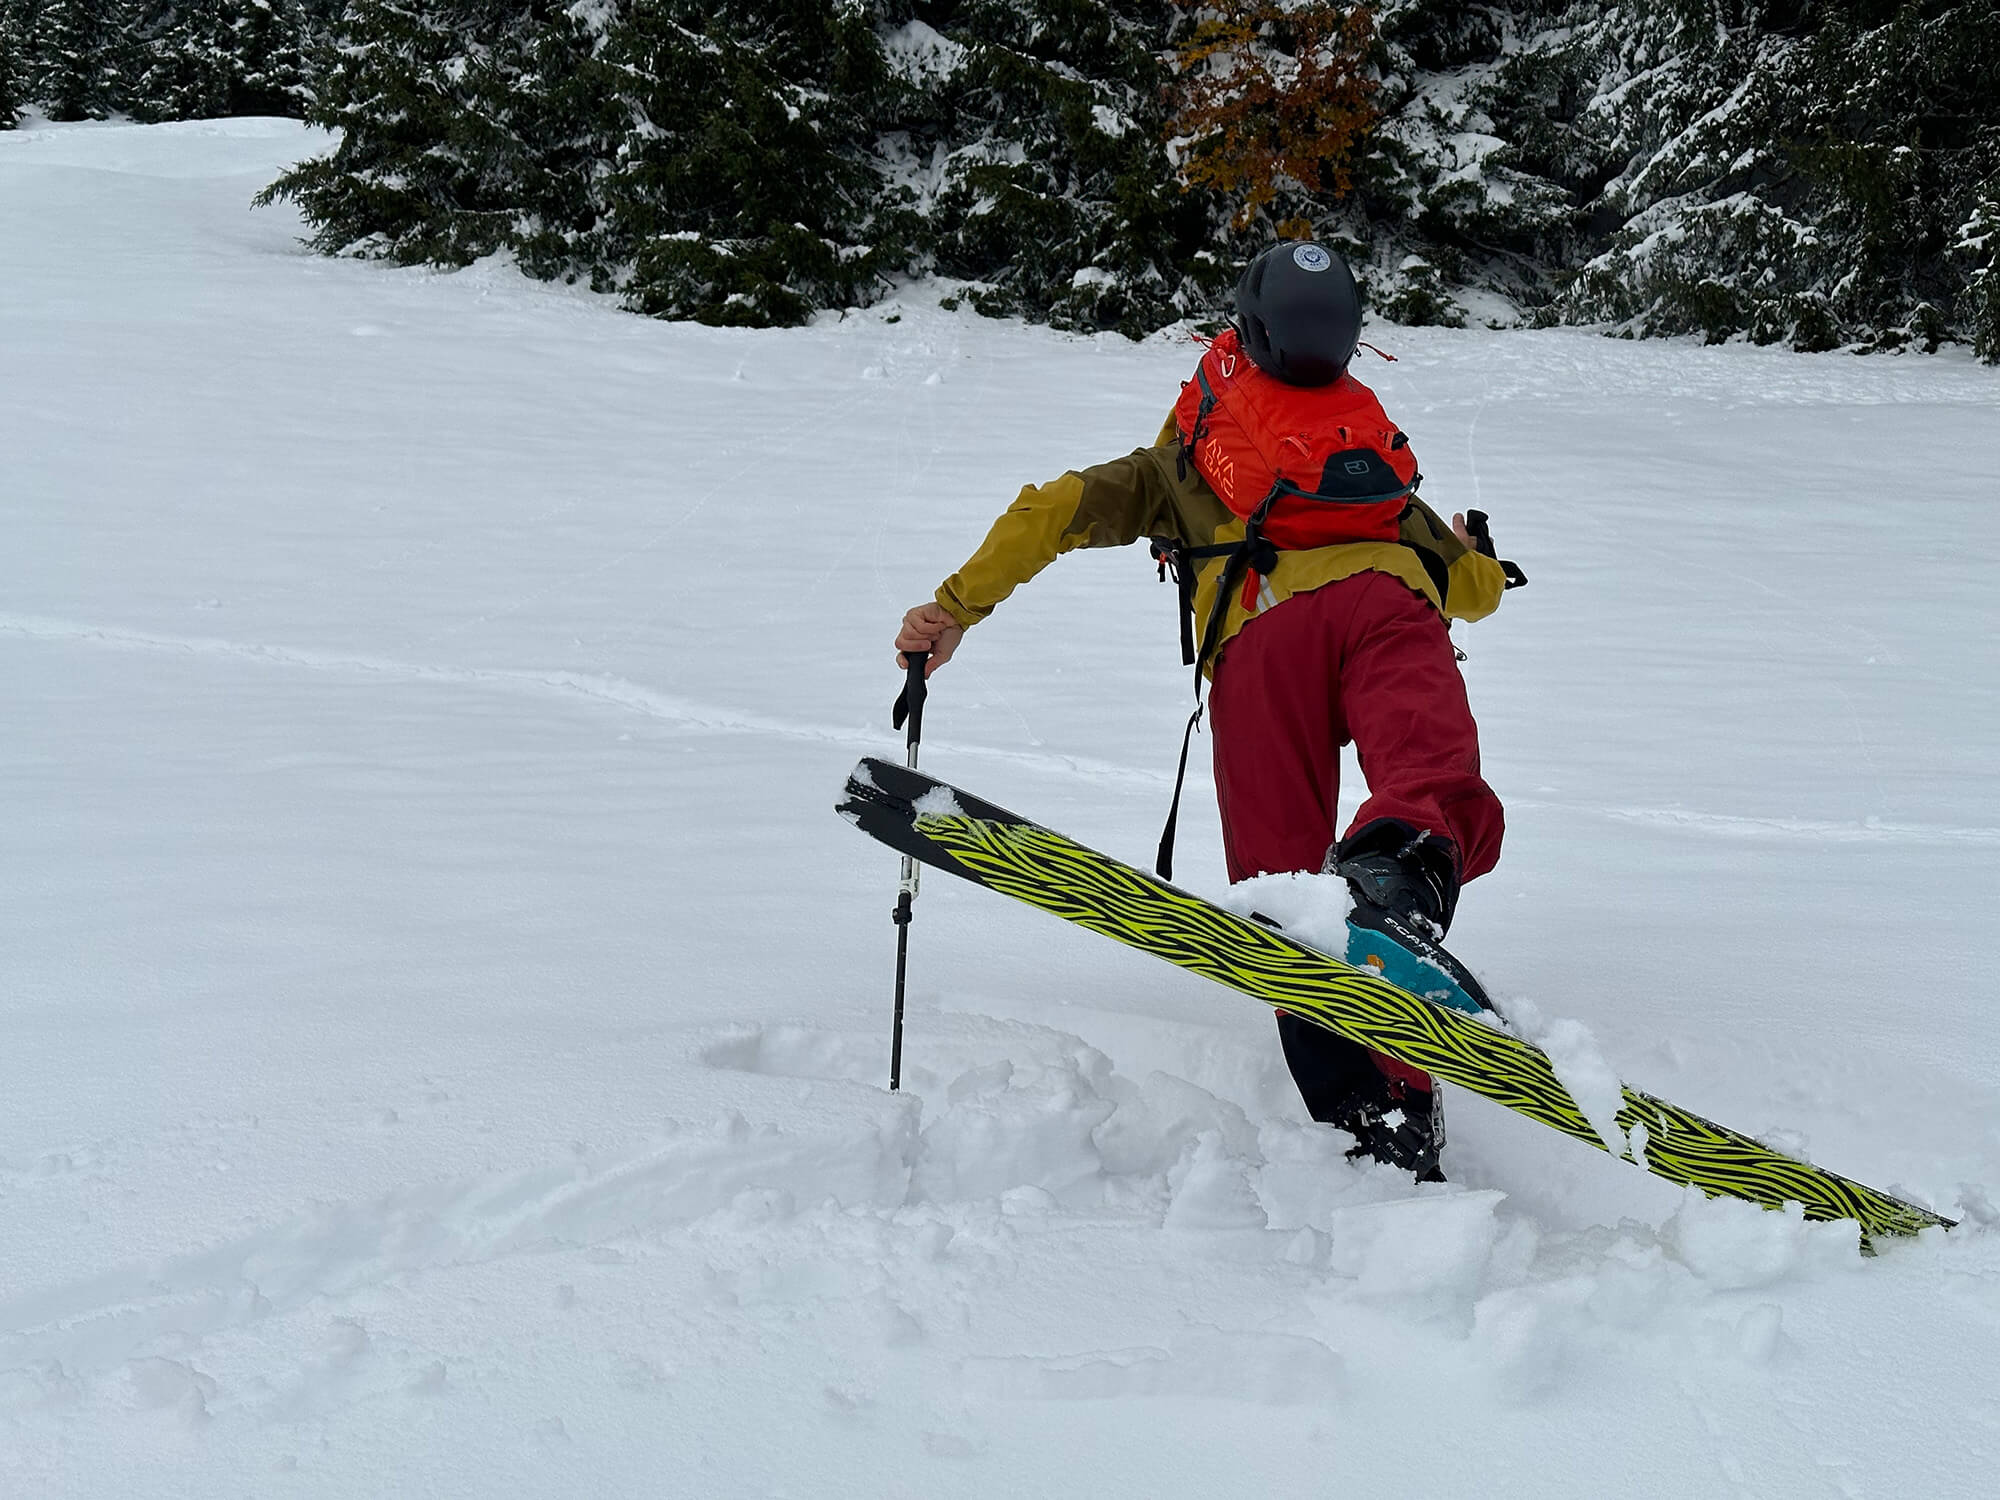
Tips for descending in deep snow
If you want to have fun on the slopes, there are a few things you should bear in mind. A common myth that I've heard a lot is that you should lean back in deep snow - please don't! Leaning back puts you in an uncomfortable position when skiing and also makes skiing much more strenuous. So stand centrally over your skis, with your skis together and use your knee and ankle joints. Skiing starts from the hips downwards. Our upper body should remain as still as possible. If you have the feeling that your skis are sinking, lift the tips of your toes and push your heels down a little, but your upper body should always remain in front and always lean towards the valley to balance stability.
My tip: central body position over the ski, the movement comes from the knee and ankle joint, stay nice and loose and don't lean back!
Pay attention to the avalanche report
Last but not least, don't forget the avalanche report. Do you know what the avalanche warning level means?
If possible, read the text of the report and don't just look at the number of the level. The avalanche danger increases exponentially with each level, i.e. level 2 is twice as dangerous as level 1 and level 3 is twice as dangerous as level 2. If you are not familiar with all this, there are great information events on this topic.
In any case, I wish you a great start to the ski touring season and hopefully many beautiful and accident-free tours!
As a mountain guide, Johannes Pfeifer is often out and about in the mountains. He provides the HAGAN community with numerous tips and tricks on ski touring in regular blog posts.